Vintage Painted Furniture.
Furniture with wood carved embellishments can be either really gorgeous and timeless, or really dated and ugly. We are talking about the dated ones, because those pieces can be saved. I am here to show you how to fill in carved wood furniture to update it and give it new life.
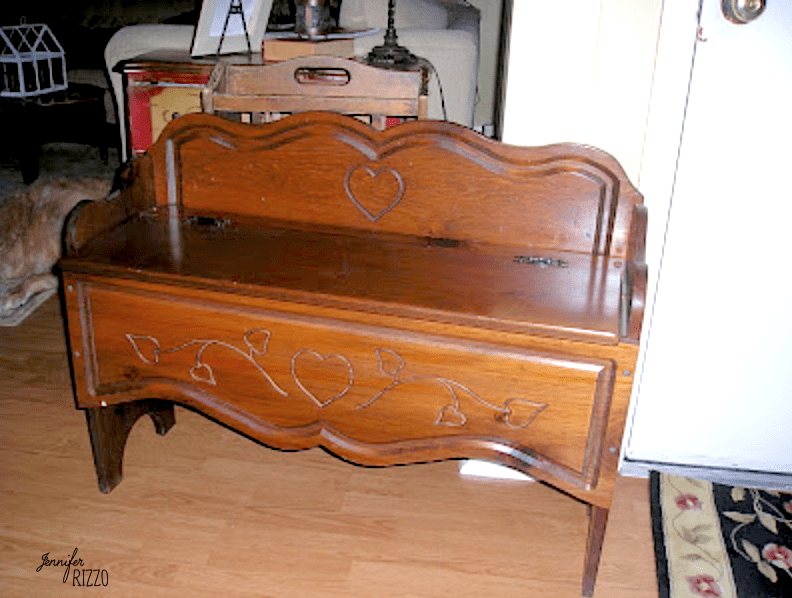
Many old wood furniture pieces are really good, solid quality. However, the carved designs on them really make them show their age. You can use a technique called “buttering in”. This works great for deep nicks or even when you want to change cabinet knob placement.

The basic premise is to fill the spaces with paintable/stainable wood putty. I am using the tube because I feel like it creates less air spaces to squirt it into the carvings than to try to smooth-in large globs from a can ( I know, it’s a very technical term.). If you’re wondering what finish to use on this piece after filling in the carved wood areas with wood putty, check out this post.
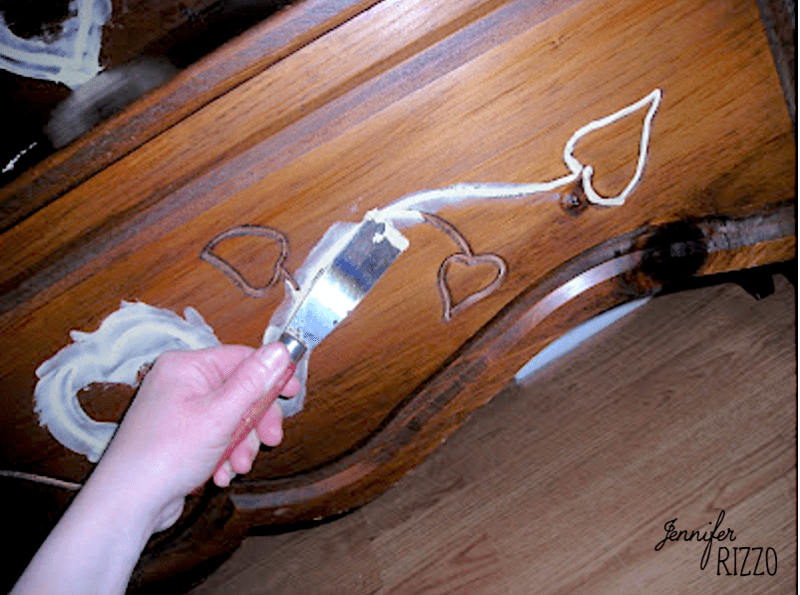
Use a Tube to Add Putty Into the Carved Areas
After you’ve squirted in your putty, use your spackle/putty knife to butter in, or smooth in the putty. Once you’ve filled as much as the wood carved area as you can, let it dry. It is very important to do so, because you’ll be repeating this step as it will shrink while it dries, and you’ll need to add more. Even if it says it won’t, it will. Plan on repeating this step several times and always wear the right protective equipment. I do this outside because it can create dust. Wipe down with a tack cloth before adding another layer or painting to pick up the left over grit.
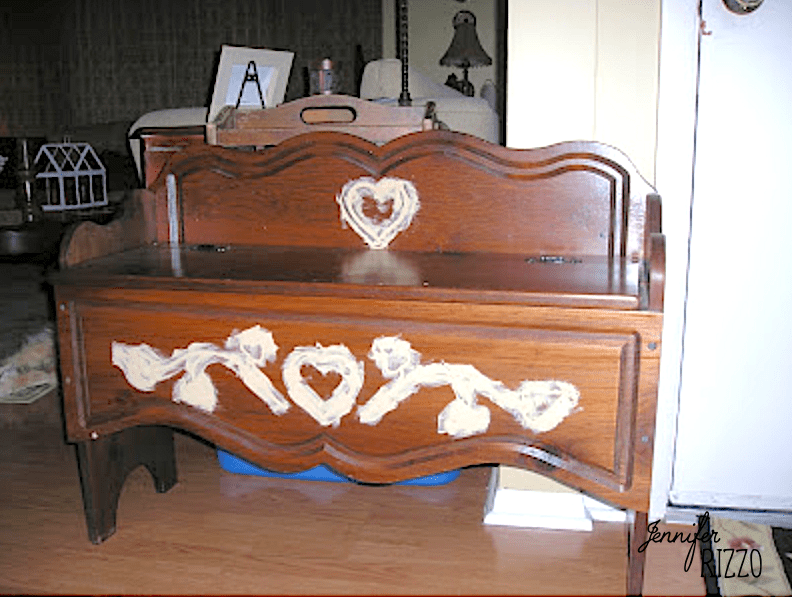
Sand and Reapply Following the Wood Putty Tube Directions
Sand the excess and reapply the putty. You’ll do this until the space is filled and you can no longer feel any ridges. Add your appliques (if desired) after the wood putty has been sanded for the last time. I like to wet sand so there isn’t any dust or sand outside. Always were eye protection and a respirator.
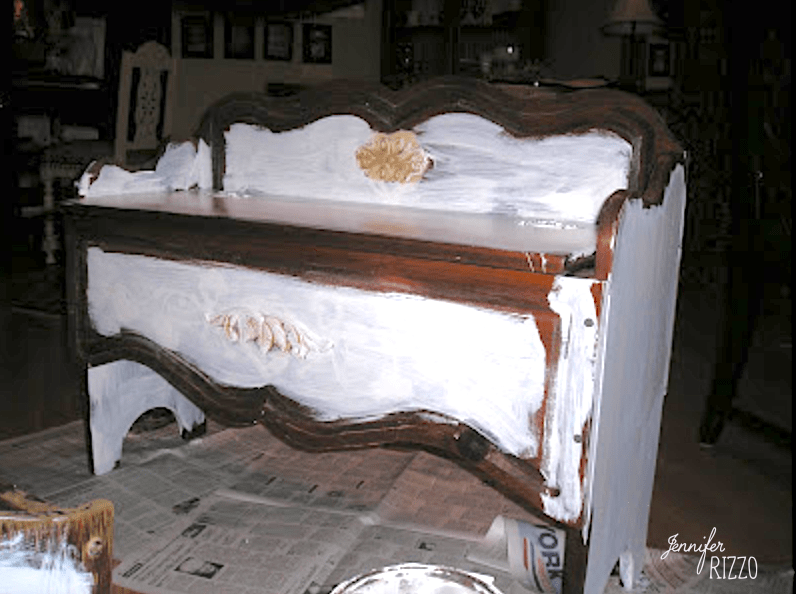
Prime Your Furniture Piece
It’s really important at this point to prime over those spots a few coats when you fill in wood carved furniture. This will help blend the puttied area in. Even after your project is painted, in certain angles, you may see “Ghost lines” or lines that show through a bit under the paint from the earlier pattern.
Apply Wood Appliques if Desired
By applying wood appliques, it can minimize the amount that show through. With some appliques you can cover them completely. Prime those as well. I love this technique because you no longer need to pass up those questionable pieces at at yard sale or thrift stores that are solid with good bones.


If you are reading this post at any other sites or blogs besides Jenniferrizzo.com, your rss feed,e-mail or in your reader this is stolen content.
*This was posted Via Jennifer Rizzo. com
OMG, this is beautiful!!!! Great job!
I just found your link from TDC.
~Allison @ House of Hepworths
Good Evening Jennifer!
One of my little darlings decided to redesign my “New” dining room table by carving her name where she sits. I suppose she was marking her place since she fights for attention from her siblings. I am so upset and cannot stop crying. Is there anything I can do to minimize the appears without sanding it. If it was a few years old that might be so be. However, only a few days makes my heart break each time I pass by it.
I will post back for post. Please fell free to send me an email @ 2004tripletmom@bellsouth.net.
Thank You!
So happy to find this! I now can envision doing this to our kitchen cabinets! I wanted to add trim on the edges of them, but you’d see the indents on the fronts. Worth a try before replacing them at least. Thanks!
I have an outdated bedroom set that has carvings, I have been wandering how to fill them in so I can paint the set, now I know…thank you